

Content batching for social media is the process of creating a large group of posts in one focused session, so you can schedule them in advance and maintain a consistent presence for weeks at a time.12 This method saves time and helps keep your messaging on-brand. If you want to prepare a month’s worth of posts in one go, use these steps to have your entire social calendar ready.3
Step 1: Set Clear Social Media Goals and Themes
Start by defining what you want to accomplish with your posts this month. Whether your aim is to boost brand awareness, drive traffic, or highlight new products, your goals shape the content you’ll batch-create. For example, if you want to increase online sales, plan product spotlights, behind-the-scenes reels, and a recurring promo code reveal. Once your goal is clear, select weekly or monthly themes. Themes make brainstorming easier and keep your content varied, such as "Tips Tuesday," "Customer Stories," or "Weekend Promos." Write these down to guide your batch session and keep your posts focused.
Don’t skip this step: content without a clear purpose won’t drive results. Connect each theme directly to your goal. For example, a fitness coach might use themes like client testimonials, nutrition tips, and Q&As, each supporting their expertise and generating leads.
Step 2: Audit Your Existing Content and Calendar
Before making new content, review what you already have. Check your previous posts for engagement, comments, shares, saves, and click-throughs. Identify your top performers and consider updating or repurposing them. For example, a "How I Plan My Day" infographic could be refreshed as a carousel or short video. Also, note important dates for your industry, product launches, holidays, or company milestones, so you include timely posts.
Create a rough calendar with these key dates and placeholders for recurring content. Use a spreadsheet or a content planning tool to make your batching session more efficient and ensure you don’t miss anything important.
Step 3: Brainstorm and Outline All Post Ideas
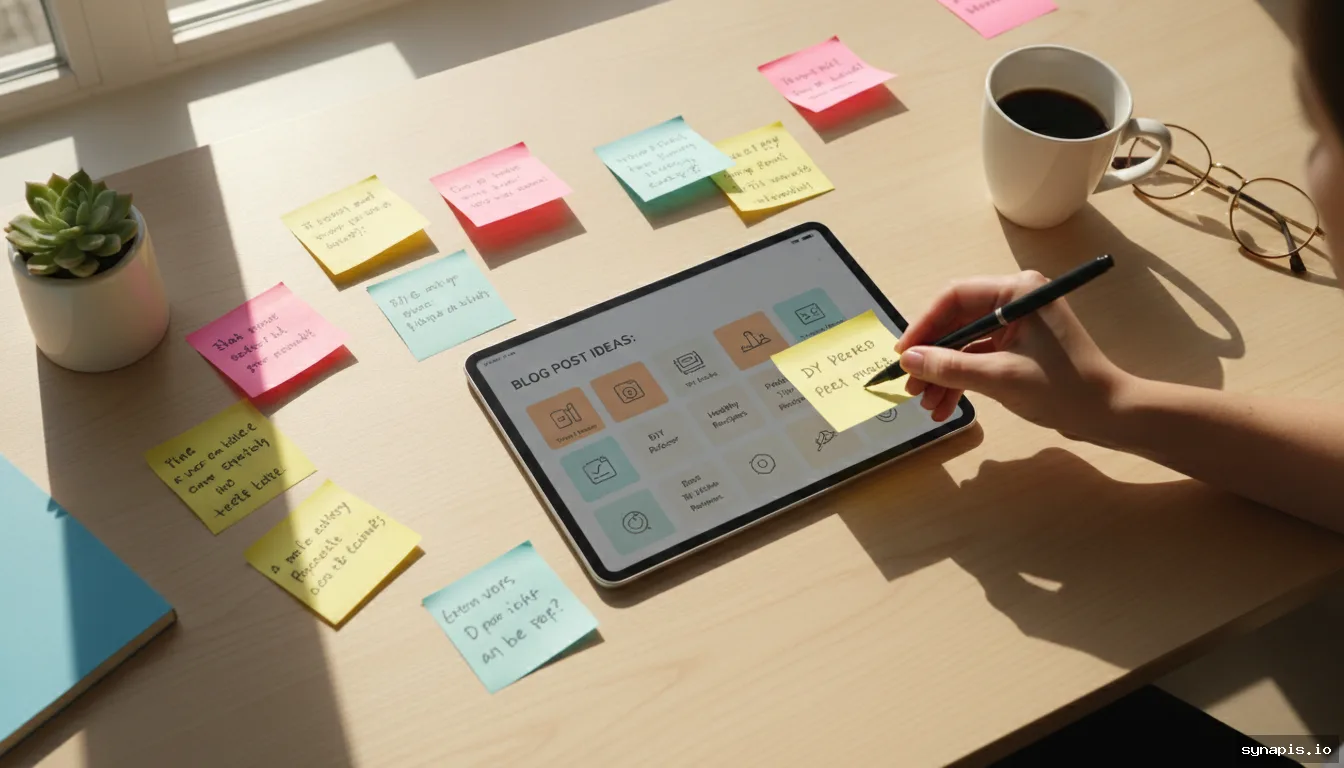
Now, focus on generating ideas. Set a timer for 30 minutes and list every post idea tied to your themes and goals, don’t hold back.4 Try to match your list to your posting frequency (for example, 30 ideas for daily posts). Group these ideas by type: product highlights, testimonials, educational content, user-generated posts, and promotions.
Once you have your ideas, outline the basic format for each post. Decide if it will be a photo, carousel, reel, story, or infographic. Add a rough caption or main point for each. This outline will speed up content creation, help you avoid decision fatigue, and make delegation easier if needed.
Step 4: Batch Create Visuals and Captions
Set aside a block of uninterrupted time for content creation, many people find 2-4 hour sessions work well. Start with visuals, as they often take the most time and set the look for your posts. Take or select product photos, design graphics, or collect user submissions. For efficiency, do similar tasks together (like shooting all photos at once), then move on to editing.
Once visuals are ready, write captions for each post. Stay consistent with your brand voice, use relevant hashtags, and include calls-to-action suited for each platform. A tool like Synapis can generate on-brand captions and images instantly, so you can refine them instead of starting from scratch. This is especially useful if you manage multiple platforms and want to tailor your messaging for each audience.
Step 5: Organize, Review, and Polish Your Batch
Next, gather all your content. Organize visuals and captions in one folder or a content planning tool. Label files clearly, like "2026-07-05_ProductTip.jpg" and "2026-07-05_Caption.txt." Review each post for tone, branding, and message consistency. Check spelling, image quality, and that each call-to-action matches your goal.
It helps to take a break for an hour or two, then review again with fresh eyes. If possible, ask a colleague or friend for feedback. Catching small mistakes now saves time later. If you’re reusing content across platforms, adjust sizes and captions for each one (Instagram’s image ratio is different from LinkedIn’s, for example), so every post looks professional.
Step 6: Schedule and Automate Posts Across Platforms
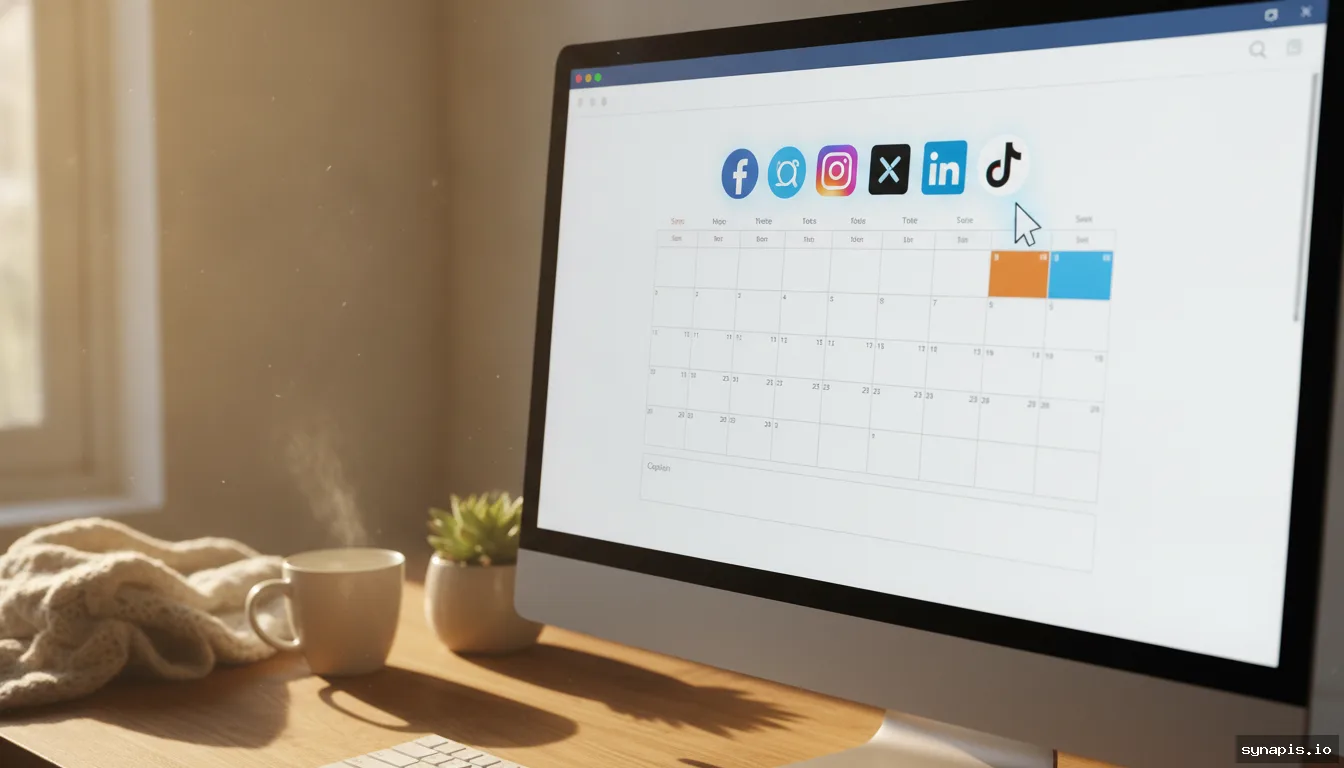
Once your content batch is ready, schedule everything to go live. Pick a social media scheduling tool that lets you queue posts for all your platforms in one place. Many teams use tools like Buffer, Hootsuite, or Synapis, Synapis connects directly to your online store and can generate, schedule, and publish posts with on-brand prompts, images, and captions. Scheduling in advance means you won’t have to scramble for last-minute content and can focus on engaging with your audience.
Stagger your posts for best reach, considering the best times for each platform. Double-check scheduled posts to make sure links work, images display correctly, and posts are set for the right days. Some platforms (like Instagram or Facebook) limit changes after posting, so accuracy is important. Here’s a quick comparison of leading scheduling tools to help you decide:
| Tool | Platforms Supported | Visual/Caption AI | Shop Integration | Best For |
|---|---|---|---|---|
| Synapis | Facebook, Instagram, LinkedIn | Yes (on-brand AI generation) | Yes (e-commerce integration) | Automated, branded, shop-connected content |
| Buffer | Facebook, Instagram, Twitter, LinkedIn, Pinterest | No | No | General scheduling, teams |
| Hootsuite | 20+ platforms | No | No | Enterprise, analytics |
| Later | Instagram, Facebook, Twitter, Pinterest, TikTok | No | No | Visual planning |
Step 7: Monitor, Analyze, and Optimize
Batching isn’t something you do once and forget. Set weekly check-ins to monitor engagement and track your key metrics. Review performance (shares, saves, click-throughs) and look for trends, do product tips get more engagement than testimonials? Are reels bringing in more leads than static posts? Use this information to adjust your approach for the next month. Most scheduling tools, including Synapis, provide analytics on posts it published to help with this process.
Reply to comments in real time to keep your audience engaged, even when your content is scheduled. Let your analytics guide what content to batch next, which formats to use, and the best times to post.
Conclusion: Make Content Batching for Social Media a Monthly Ritual
Content batching for social media is more than a productivity trick, it’s a sustainable workflow for busy business owners and marketers. By setting clear goals, auditing your assets, outlining ideas, batching creation, and automating scheduling, you save hours each week and build a stronger, more consistent brand presence. Platforms like Synapis can handle content generation, scheduling, and publishing so you can focus on strategy and engagement, not daily posting. Try batching your next month’s posts, you’ll notice the difference.